Where I started with Clay
In 2021 as I was getting back into art, I started where a lot of creative do…collecting art supplies. One of those supplies that I started collecting was polymer clay. I started by collecting as many colors that I could, with the majority being Sculpey III. I also purchased a clay tool set from Amazon which included close to 40 tools that I honestly had no idea how to use them. My first few creations were rough to say the least. This Pizza was my first attempt at creating clay food.
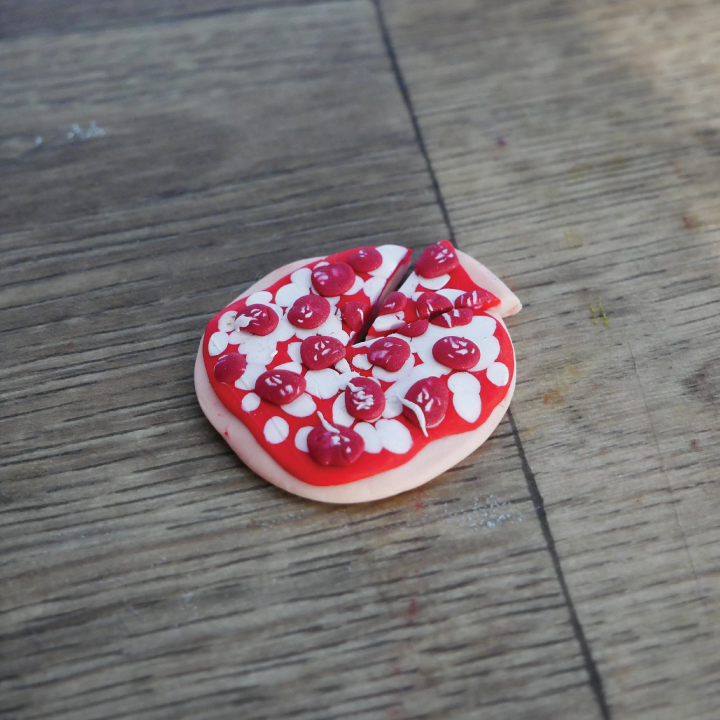
As you can tell my skills were lacking and I didn’t really know how to get better. As I started doing research I started to learn about the tools, and now I’m ready to share my favorites with you.
Cutting Tools
I have a few favorite cutting tools, because the size of the project will have an impact on the blade I choose to use. The one I grab most commonly is the X-Acto style knife. I use this for cutting small pieces, either off the block of clay or off the piece I’m working on. Its great for small precision cuts.
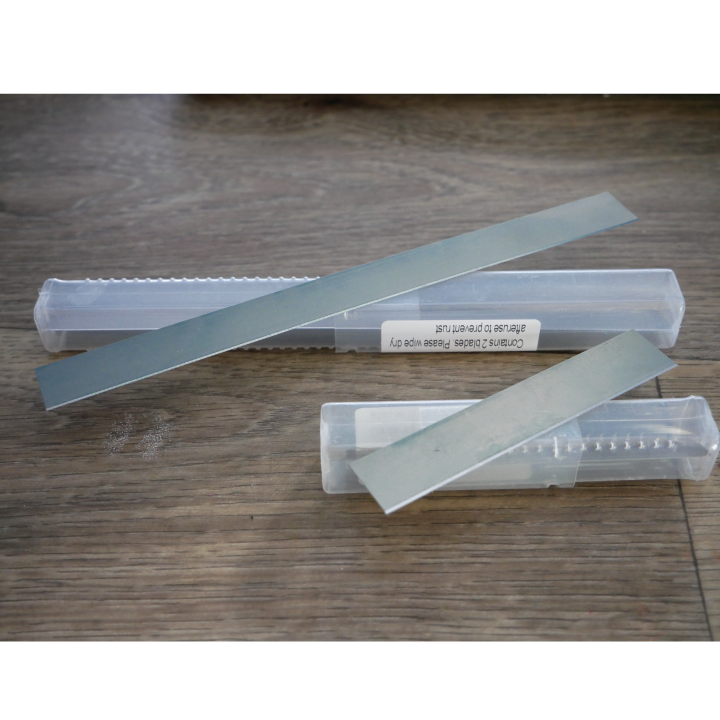
The other cutting tool I reach for is a 4″ razor blade and an 8″ razor blade. These are long skinny blades that are great for cutting larger pieces, or sheets that have been rolled out for use. When it comes to cutting polymer clay, blade sharpness matters. A dull blade won’t slice cleanly—it will squish, drag, or distort your clay. Here’s how to get the best cuts every time:
1. Keep Your Blades Sharp
A sharp blade is essential for precise cuts, especially with small pieces like miniature cakes or other foods. Dull blades are fine for rough cuts (like slicing clay off a block), but for clean edges, I would recommends changing out your blades regularly. Signs your blade may be getting dull can include your clay dragging, smudging, or sticking to the blade, if you see any of these it’s likely time to change it out.
2. Chilling Clay for Cleaner Cuts
Soft clay can warp when cutting—try chilling it in the fridge for 10 minutes before slicing. This works especially well for stacked cakes, geometric designs, and delicate details.
3. Technique matters
How you cut your clay can impact the final look, so the following methods to improve the outcome. Use a rocking motion with long blades for even, controlled cuts, slice straight down with an X-Acto knife for crisp, detailed edges, and avoid dragging the blade—this can stretch and distort the clay.
4. Reduce Blade Stickiness
Your blade will become dirty as you work, with clays getting stuck and other materials you work with in your process can gum up a knife. Wiping blades with rubbing alcohol before cutting and after projects can help prevent clay from sticking. For extra sticky clay, lightly dust your blade with cornstarch or baby powder.
Tiny Tips & Tricks
Always cut on a self-healing mat or a smooth ceramic tile. Keep fingers behind the blade—trust me, polymer clay is more fun without bandages!
Adhesives & Clay Mediums
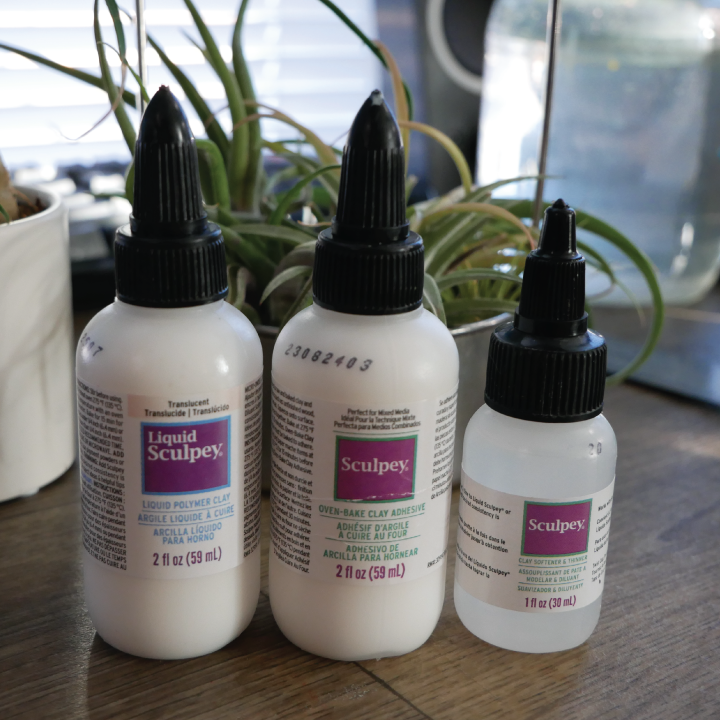
One of the biggest game changers in my miniature clay work was discovering clay mediums. Liquid polymer clay, oven-baked adhesive, and clay softener have completely transformed how I shape, bond, and texture my creations. Here’s how I use them and why they’re essential:
1. Liquid Polymer Clay – The Ultimate Multi-Use Medium
If I had to pick just one, liquid polymer clay would be my go-to. I use it in almost every project because it’s incredibly versatile:
- Texture Modifier – Mix with solid clay to create soft, spreadable effects (perfect for frosting, sauces, or melted cheese in miniatures).
- Translucent Effects – Great for mimicking syrups, juices, or glossy finishes on food miniatures.
- Adhesive Power – Acts as a strong bonding agent when baked, fusing pieces together seamlessly.
Pro Tip: Want a frosting-like texture? Mix liquid polymer clay with a bit of solid clay and whip it up using a toothpick or needle tool!
2. Oven-Baked Adhesive – For Extra Bonding Strength
This thicker alternative to liquid polymer clay is designed specifically for bonding clay pieces together before baking.
- Works well for attaching larger pieces (like figurine parts or layered designs).
- Has a stronger hold than liquid polymer clay but is also more visible after baking.
Pro Tip: Apply oven-baked adhesive sparingly—it’s thicker than liquid polymer clay, so too much can create noticeable seams.
3. Clay Softener – Reviving & Rescuing Old Clay
Sometimes, polymer clay becomes too dry or crumbly—that’s where clay softener comes in.
- Revives old or firm clay, making it pliable again.
- Can thin out liquid polymer clay if it thickens over time.
Pro Tip: If your liquid polymer clay turns into a thick mess, add one drop of clay softener at a time and mix thoroughly—it’s powerful stuff!
- Less is more! These mediums are concentrated, so start with a tiny amount—one drop goes a long way.
- Test before applying! Different brands may have slightly different consistencies, so experiment on scrap clay first.
- Blend well! For even effects, mix thoroughly to avoid streaky or uneven finishes.
| Feature/Use Case | Liquid Polymer Clay | Oven-Baked Adhesive |
|---|---|---|
| Primary Purpose | Texture modifier, adhesive, translucent effects | Strong bonding agent for clay pieces |
| Consistency | Thin, runny, slightly sticky | Thick, gel-like |
| Best for… | Creating frosting, sauces, or translucent effects | Attaching solid clay pieces together |
| Bonding Strength | Strong but flexible; ideal for seamless joins | Stronger but more noticeable |
| Translucency | Dries translucent (great for realistic food miniatures) | Opaque; may be visible after baking |
| Application Method | Brush, needle tool, or small spatula | Precision tip or toothpick for controlled application |
| Baking Reaction | Becomes gel-like and fuses pieces together | Cures into a strong, slightly rigid bond |
| Cleanup & Handling | Can be mixed with solid clay for custom textures | Thicker and requires careful placement |
| Best Alternative | Can replace oven-baked adhesive for small bonds | Works best for structural support on larger pieces |
Pro Tip: For extra-strong bonds, combine both! Use oven-baked adhesive for the main connection and a thin layer of liquid polymer clay around the edges for a seamless blend.
Tools for Finishes and Glazes
Adding a glaze can make a big difference in the final look of a polymer clay piece. It enhances texture, adds realism, and gives miniatures a more polished appearance. Whether you’re aiming for a glossy shine, a subtle glow, or a completely matte finish, choosing the right glaze is key.
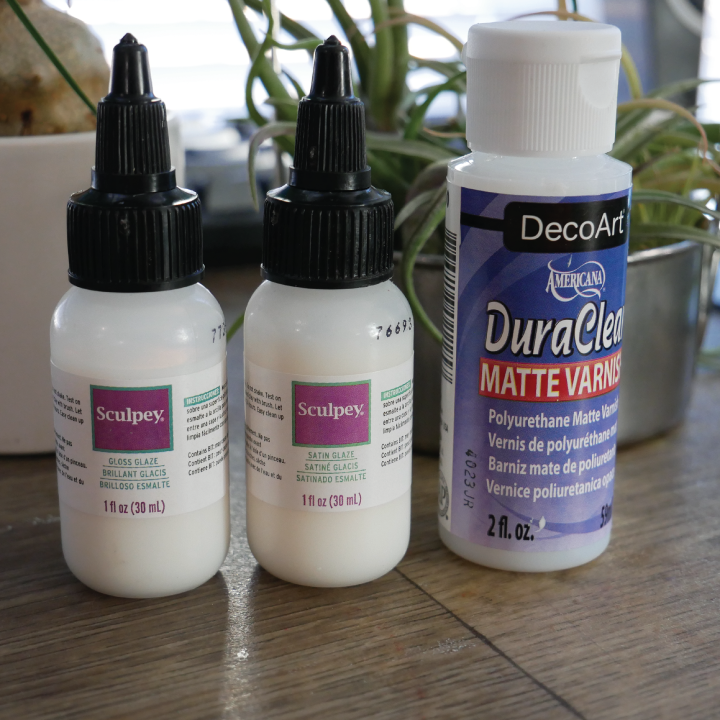
I typically use three types of glaze: Gloss, Satin, and Matte.
- Gloss Glaze – Perfect for food miniatures that need a wet, gooey, or syrupy look. It makes fruit, icing, and sauces appear more realistic by enhancing their shine.
- Satin Glaze – My go-to choice! It provides a subtle sheen that brings out texture without making the piece overly reflective. This works well for general miniatures that need a natural look with a soft glow.
- Matte Glaze – Ideal when you want to maintain the clay’s natural appearance while still sealing and protecting the piece. I don’t use this as often, but it’s great for projects where shine would be distracting.
Tiny Tips & Tricks
- Apply multiple thin layers – A thick coat can lead to drips, bubbles, or an uneven texture. Thin layers create a smooth, professional finish.
- Use a soft brush – This helps avoid visible brush strokes. A synthetic brush with soft bristles works best.
- Let each layer dry completely – Rushing the process can cause tackiness or streaks. Allow proper drying time for a flawless result.
Honorable Mentions: Essential Extra Tools
While cutting tools, adhesives, and finishes play a major role in polymer clay crafting, there are a few other tools that I always keep within reach. These small but mighty tools add realism, texture, and detail to miniatures.
1. Needle Tool – The MVP of my toolkit
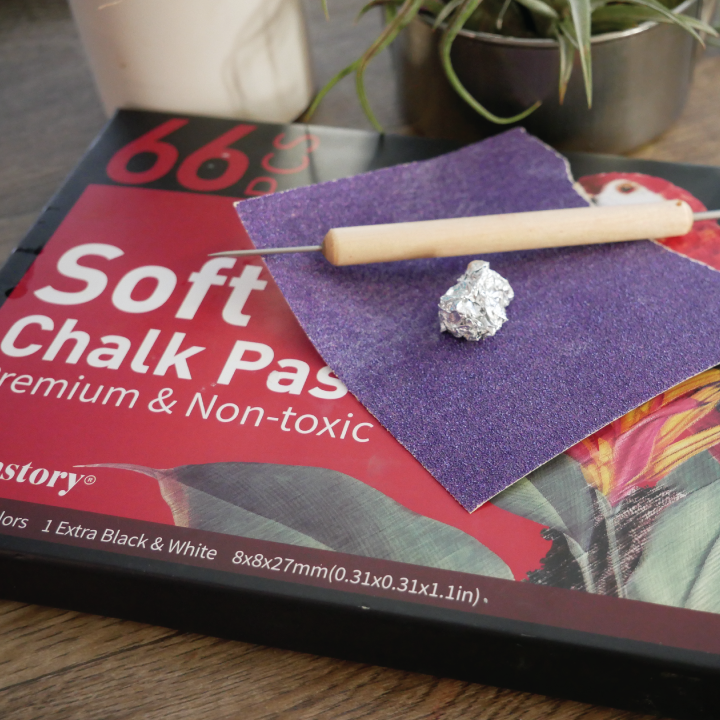
I originally bought a clay tool kit with 30–40 different tools, but if I had to pick just one, it would be the needle tool. It’s incredibly versatile—perfect for: Marking guidelines on clay, adding fine texture lines, mixing small amounts of liquid clay, creating indentations and detailing.
While I still use my other tools occasionally, the needle tool is the one that ends up in my hand the most.
2. Tin Foil & Sandpaper – Texturing Powerhouses
Both of these are excellent for adding texture to miniatures:
- Tin Foil – Creates organic, rough textures, perfect for stone, bread crusts, or aged surfaces.
- Sandpaper – Works great for subtle texturing, especially on the bottom of baked goods to mimic real-life texture.
3. Chalk Pastels – The Secret to Realistic Coloring
Instead of mixing endless clay colors, I often use chalk pastels to create subtle variations and shading. Lightly brushing pastel dust onto clay before baking enhances details, especially for food miniatures like toasted bread or golden-brown pastries.
Tiny Tips & Tricks
- Seal chalk pastels with glaze – This helps lock in the color and prevents fading over time.
- Use a soft brush or sponge for pastels – This ensures smooth, natural shading.
- Layer textures – Try using tin foil, sandpaper, and needle tools together for ultra-realistic details.
The key to growing in any art form is having the right tools and knowing how to use them. But you don’t need every tool out there—realistically, you’ll only use a handful regularly. Every artist has their favorites, and the tools you reach for will depend on what you’re creating. So, experiment with different options, and when working with clay, don’t be afraid to try something new—you might discover a texture or technique that transforms your process.
I’d love to hear from you! What’s your favorite tool? It doesn’t have to be for clay—I’m always curious about what tools artists find the most useful. Drop a comment below!
❤ Kelly

Leave a Reply